In this article, I will show you my GoDaddy in-depth review for their Shared Hosting offering.
GoDaddy has definitely grown into a giant household name in the world of web hosting providers.
They currently have 18 million customers worldwide and have 77 million domain names registered under their banner.
It is no wonder that they are currently the world’s largest domain registrar.
The thing about GoDaddy is that they have been around for a long time now. And in the web hosting market, being around in the long time, most of the time, means that the company has matured enough already — atleast hardware wise.
This means that the company by now should already have a large number of data centers. And have enough hardware ready for customer influx or system downtime.
I really think that GoDaddy has really grown into this kind of company.
Currently GoDaddy has 14 facilities worldwide including North America, Asia, Europe, India and more. A solid proof that they have grown into a very dependable company in terms of hardware availability.
GoDaddy currently offers Shared Hosting, WordPress Hosting, VPS Hosting and Dedicated Servers.
Furthermore they also allow you to buy SSL Certificates and Domains directly from their website along with some other web related services.
Here is my GoDaddy In-Depth Review – Shared Hosting Edition.
1. Pricing
To start this review off, let us have a look at GoDaddy’s pricing.
My first impression on their pricing is that it is mostly in the middle range of the current Shared Hosting pricing in the market.
I have seen some Shared Hosting prices that are more than half of their pricing and others that is 40% higher than GoDaddy’s pricing.
I honestly think that they did prefer to place their pricing comfortably in the middle. They do not want to charge too much or charge too low.
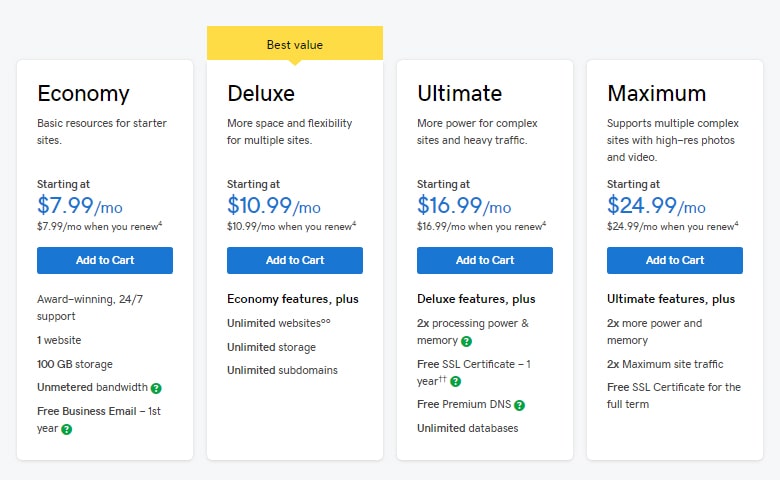
Here is the breakdown of their pricing:
Economy
- Monthly Price – $7.99/mo
- 1 Website
- 100GB Storage
- Unlimited Bandwidth
Deluxe
- Monthly Price – $10.99/mo
- Unlimited Websites
- Unlimited Storage
- Unlimited Bandwidth
Ultimate
- Monthly Price – $16.99/mo
- Unlimited Websites
- Unlimited Storage
- Unlimited Bandwidth
- 2X Processing Power & Memory
- Free SSL Certificate
- Free Premium DNS
Maximum
- Monthly Price – $24.99/mo
- Unlimited Websites
- Unlimited Storage
- Unlimited Bandwidth
- 2X Processing Power & Memory
- Free SSL Certificate for the Full Term
- Free Premium DNS
One more thing I noticed is that currently GoDaddy does not offer specific discounted prices if you go annual plans. What they currently have is a 30% discount coupon for all plans.
This coupon applies to both the monthly and yearly.
You could also search for other coupon codes online and apply it easily in the checkout page.
2. Purchasing Experience
The purchase experience with GoDaddy is also very pleasant.
All you have to do is choose your Shared Hosting plan, add a domain if you need to, add a coupon if you have one, create an account with them and complete your purchase.
After that, almost immediately, you will receive multiple email from GoDaddy confirming your purchase.
Also since you are logged-in to their system already you actually have access to your hosting and domain right away. Just go to the My Account section.
The reason the purchasing experience is an important part of this review. Is because there are actually web hosting providers out there which will give you a real awful purchase experience.
One example of this is that I encountered 2 web hosting providers before that after taking my money decided to ask me to send them my IDs and made me wait hours before giving me my logins.
Thankfully, GoDaddy is not like one of these hosting providers.
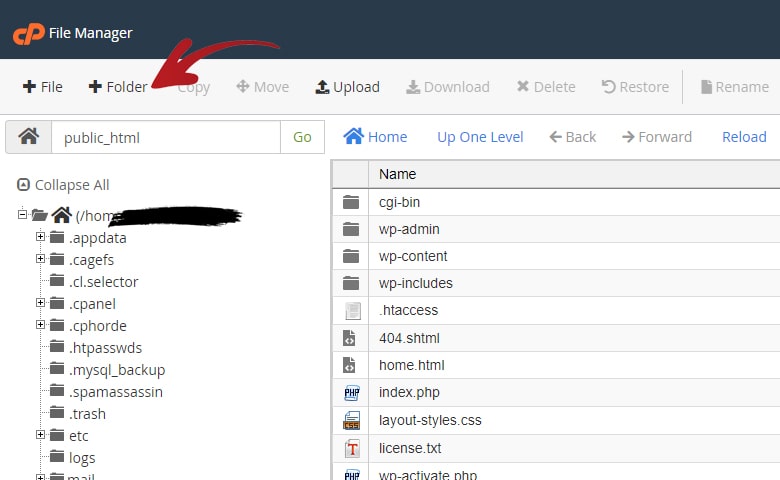
3. Control Panel
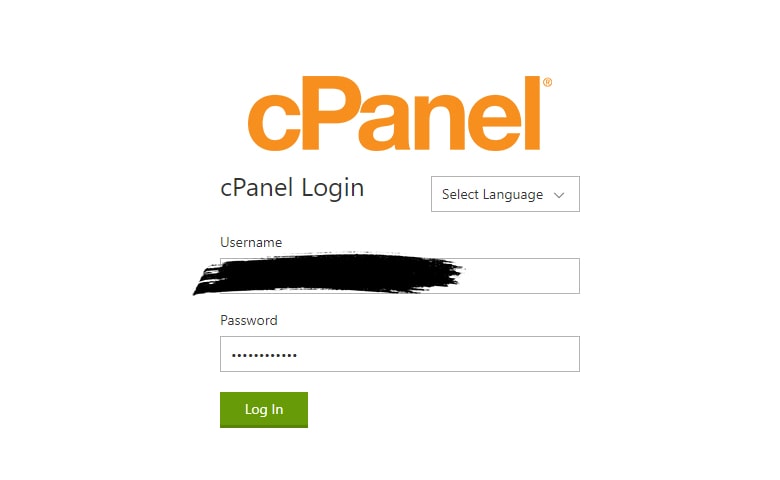
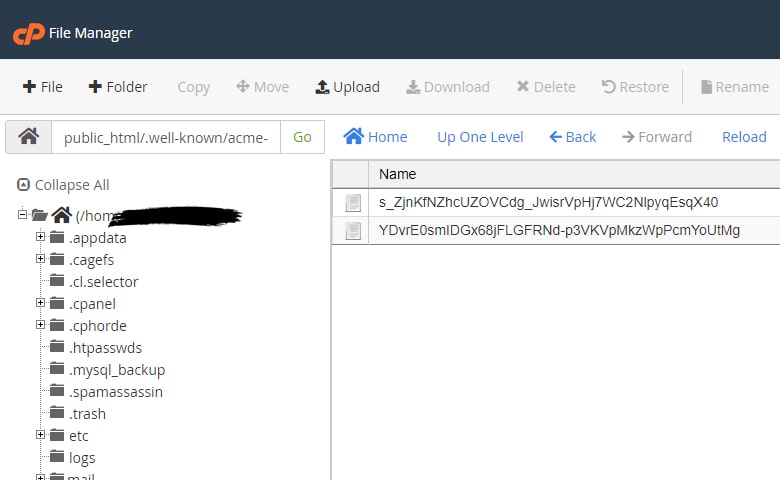
Thankfully, the GoDaddy Shared Hosting uses the cPanel from this company as their control panel.
This is probably good news for most web owners as this is the most common control panel right now. This means that if you are used to this control panel then you will not be in an unfamiliar environment.
The reason I want to mention this in this review is because this could be buying factor for some web owners.
This is because there are actually web hosting providers out there that use a completely different control panel.
Being in a different control panel means that doing your usual stuff in the control panel would take more time as you will need to find your way in it first.
And not only that, so far all of the custom control panels that I have worked on either have features that are missing. Or they have the feature but it is incomplete so it is worthless nonetheless.
For me the real deal breaker here is the missing features that is a necessity for you.
For sure, I am not the only one who look into this when they are considering to purchase a hosting for a client. Some of my clients do ask specifically if they can have a hosting with a cPanel. While some when I ask would say they also want a cPanel.
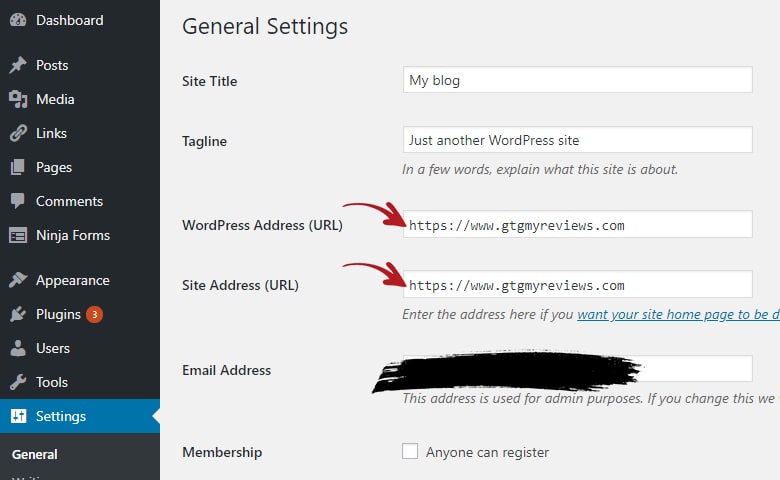
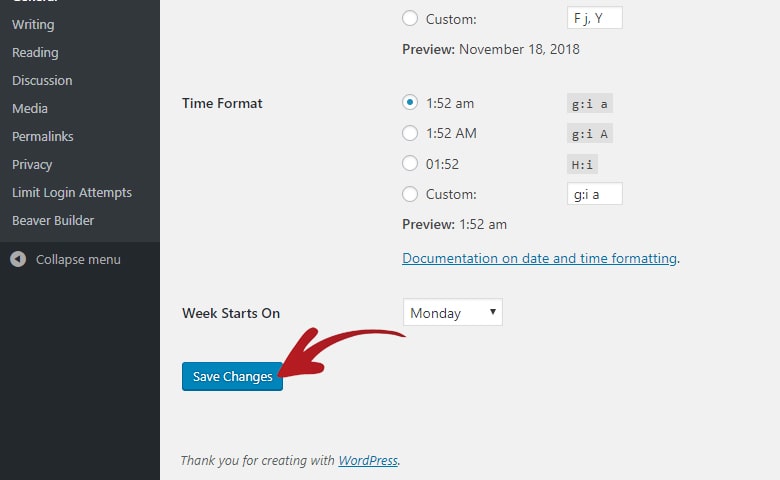
4. Preparing the Website
This is now that part where I work on setting up the website hosted on the GoDaddy Shared Hosting.
We will then test this website with various speed tests web applications. And see how the GoDaddy Shared Hosting actually performs in real time.
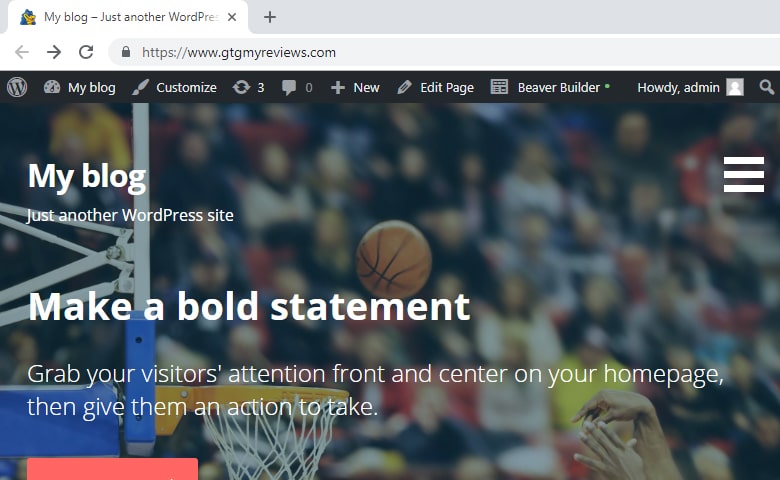
This website uses the default Twenty Seventeen theme of WordPress and I just edited the appearance so it will look like a normal blog website.

The first thing I did is change the header of the Twenty Seventeen theme and changed it to a full-width image with 1920 x 420 pixels resolution.
I also added two posts that shows on the homepage with featured images at 780 x 480 pixels resolution.
Take note that the images I used here are all optimized already.
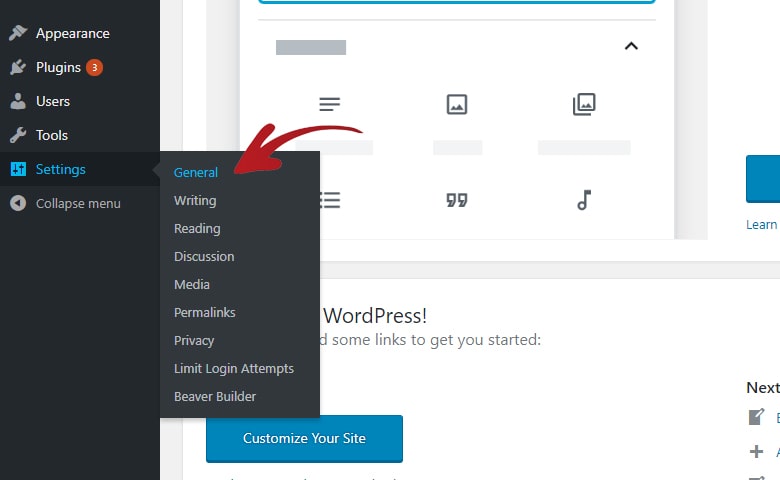
I changed some of the sidebar items and added categories and removed the recent comments widget.
I think I removed another default widget in the sidebar but cannot remember what it was. Anyway what I have in time of testing are Search Box, Recent Posts and Categories.
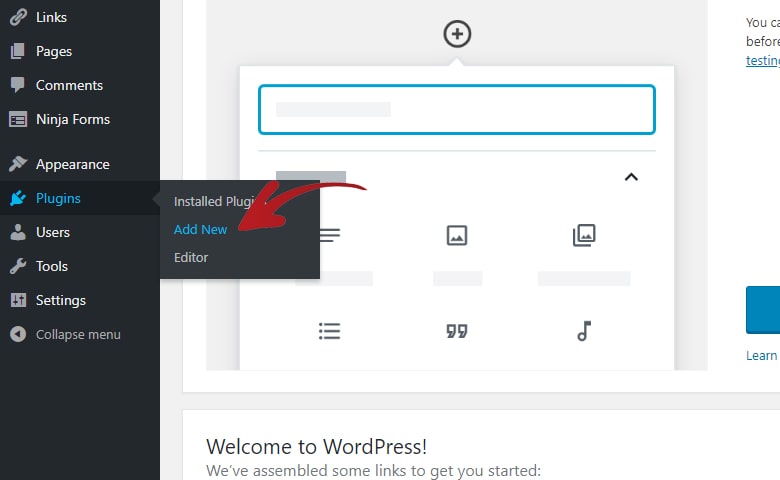
Next is the plugins cleanup. If you use the GoDaddy WordPress installer then you might find your plugins section already have some plugins pre-installed.
Since I do not actually need these plugins then I deleted them.
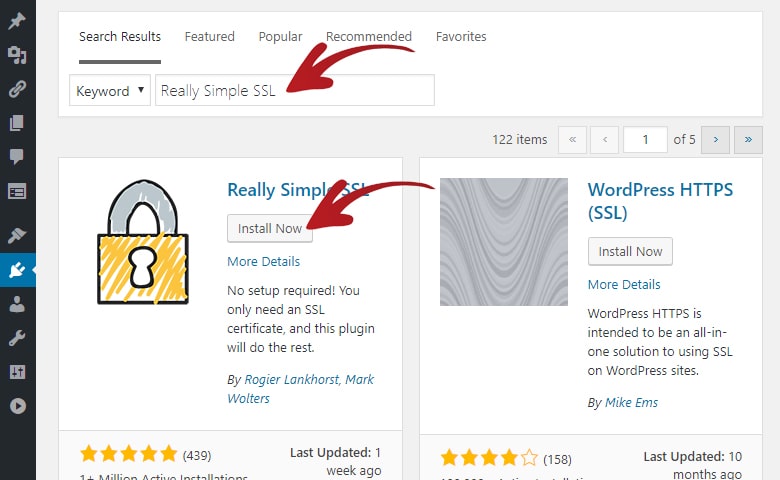
I then installed the plugins I need for the optimization of the website.
These are mainly the Autoptimize which will handle the JS, CSS and HTML files minification.
And the other is Cache Enabler which will handle generating cache to be served to the visitors.
That is all for now. If you are interested in further optimization you could still do CDN, Premium DNS, Lazy Loading media files and more.
For the meantime, I want to use the tools that are readily available to a starter blogger and show them the performance they could actually get right away. With just installing a couple of plugins and enabling some of its settings.
In summary here are the current optimizations in the website as of time of testing:
- Optimized Images
- Minified JS, CSS and HTML
- Cached Pages
The plugins I have are:
- Akismet
- Autoptimize
- Cache Enabler
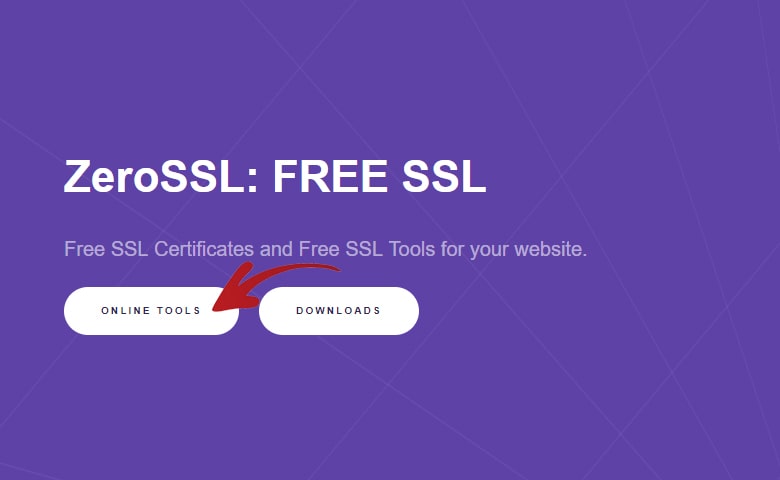
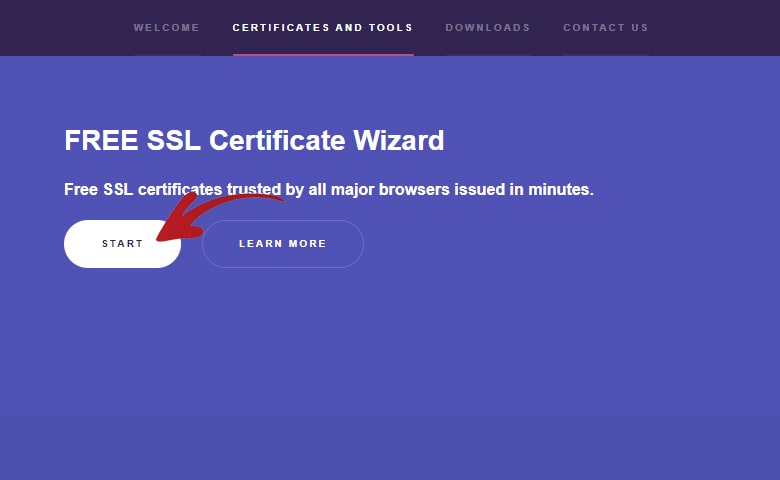
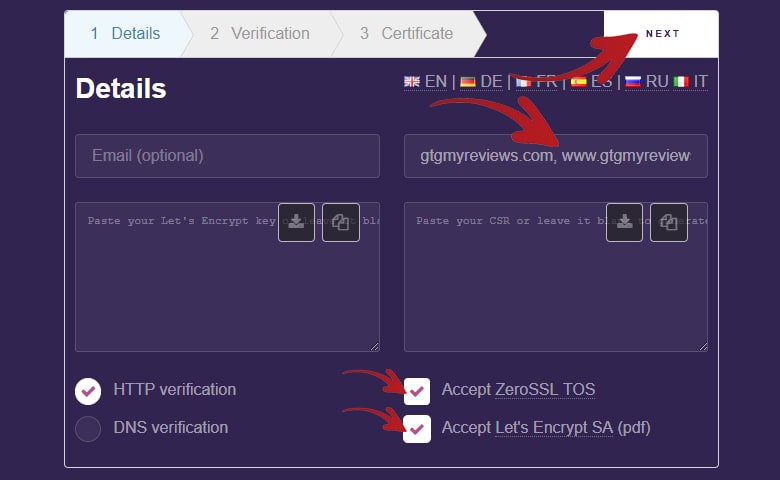
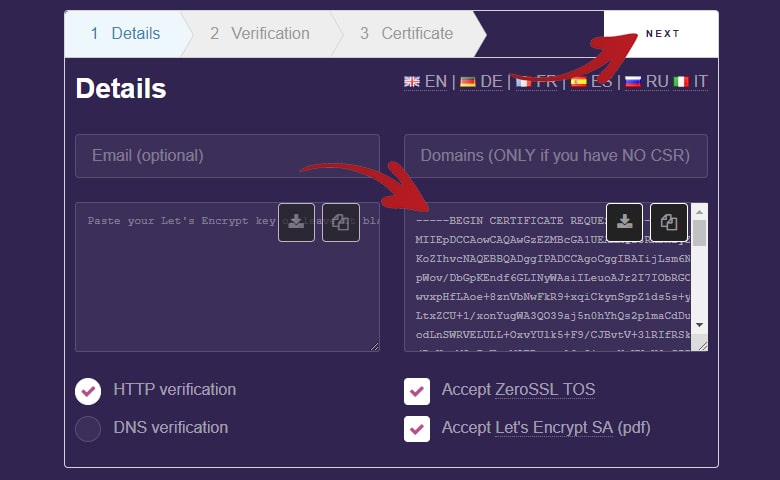
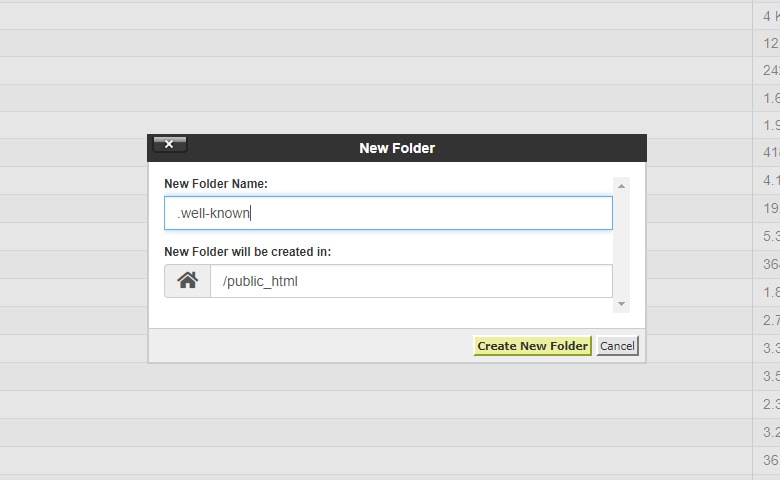
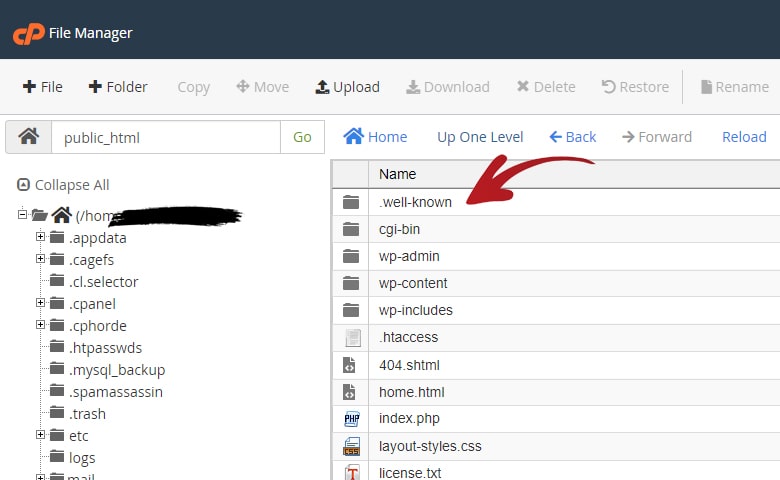
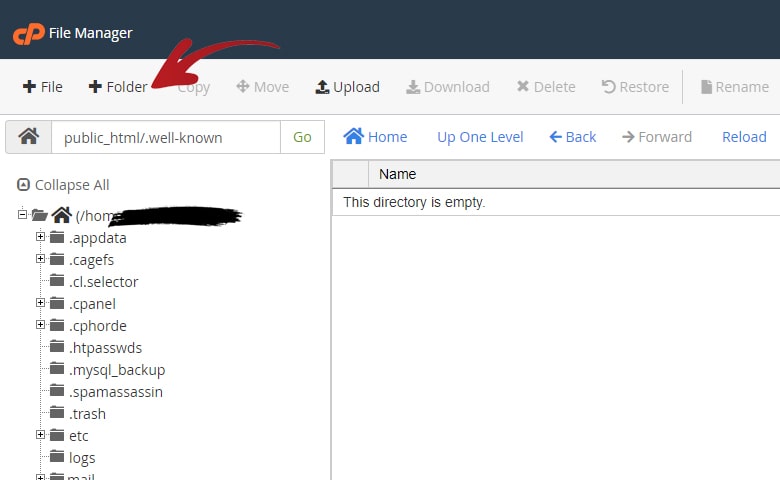
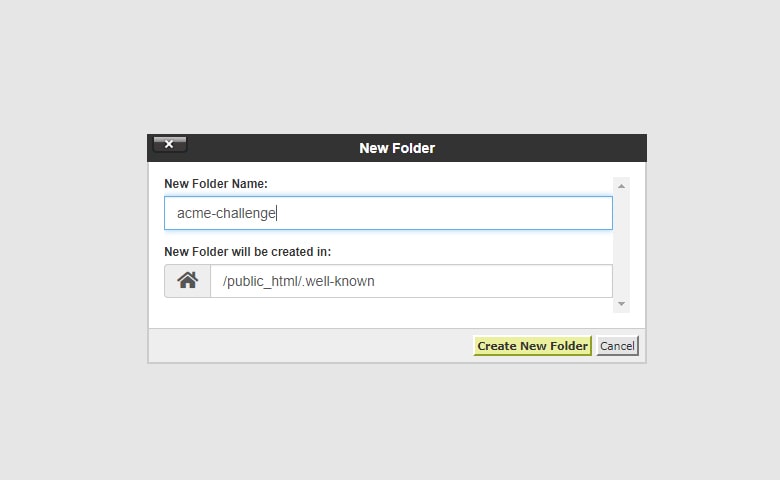
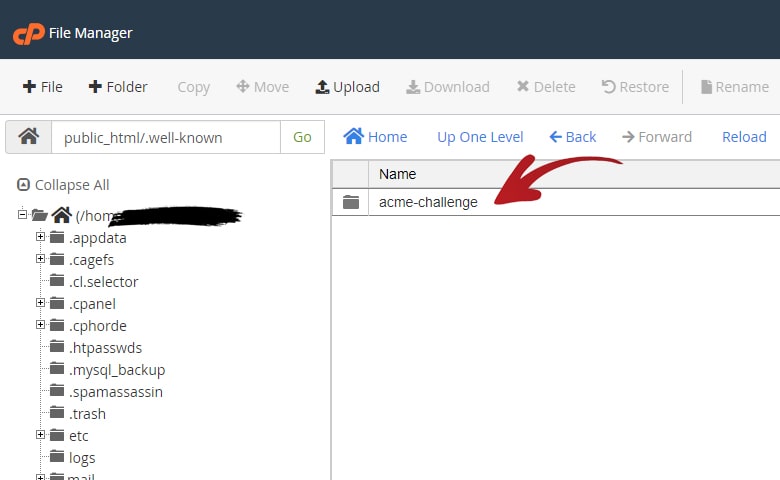
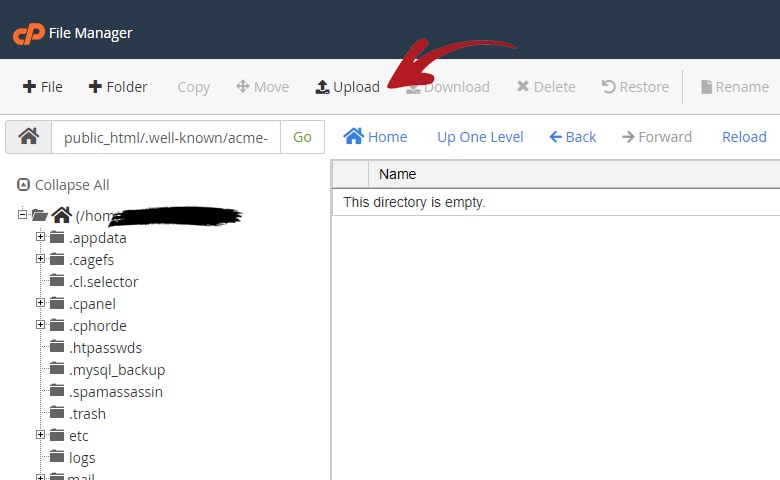
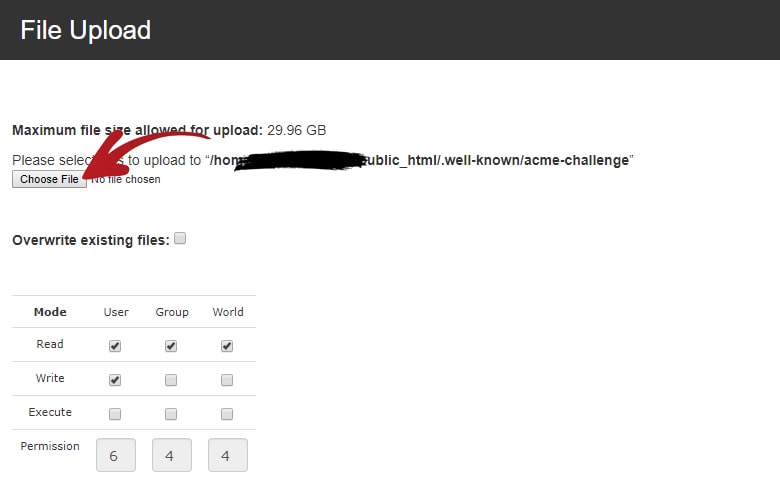
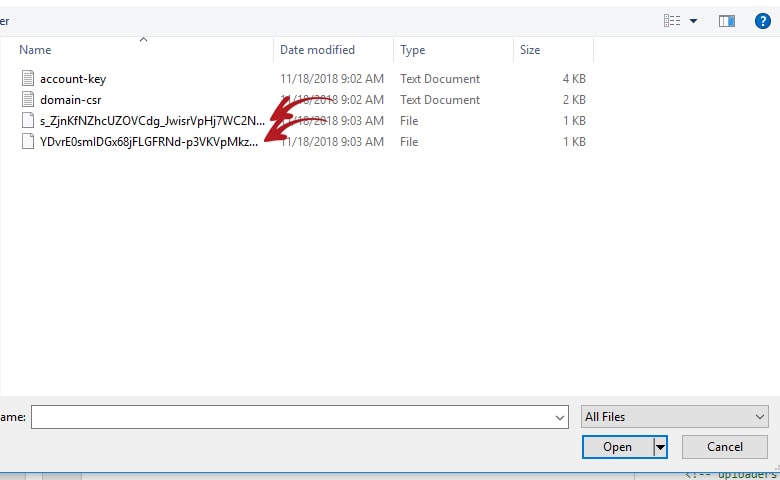
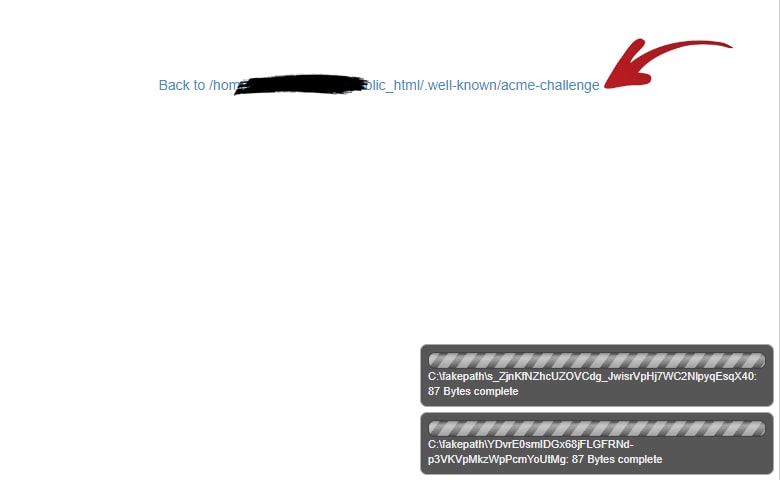
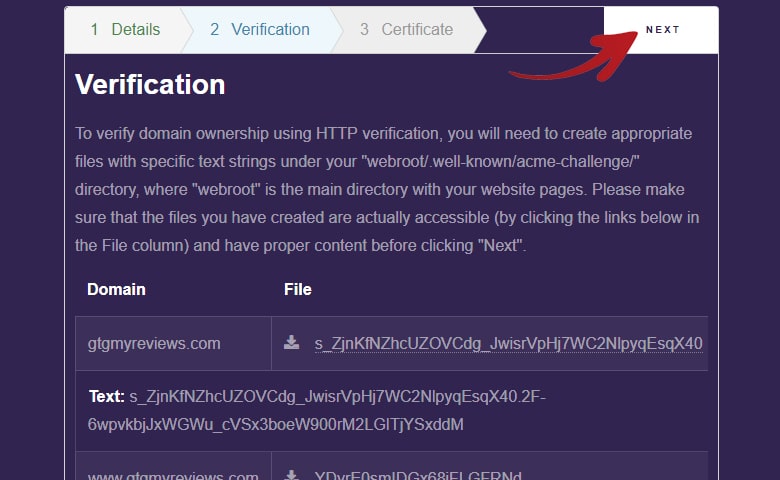
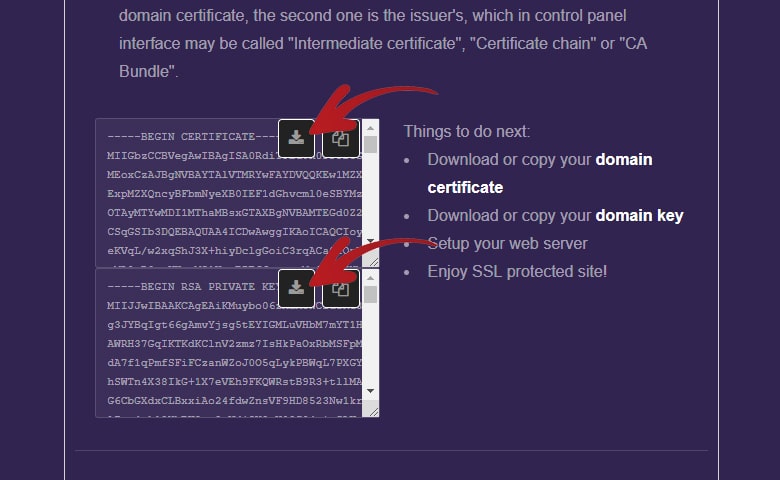
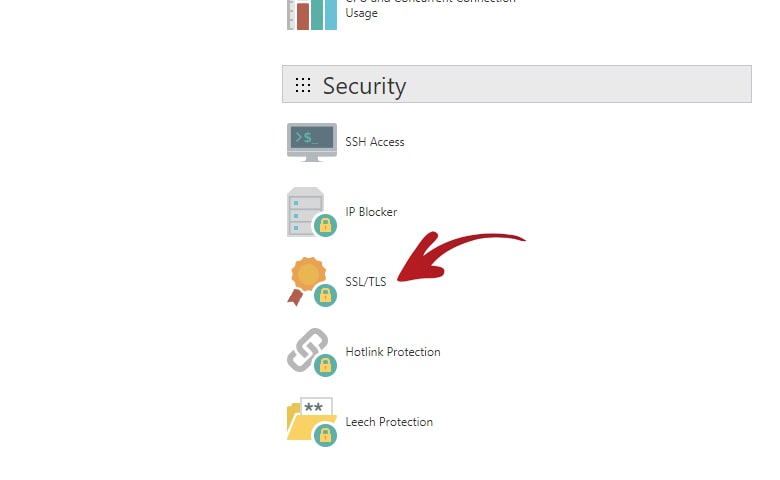
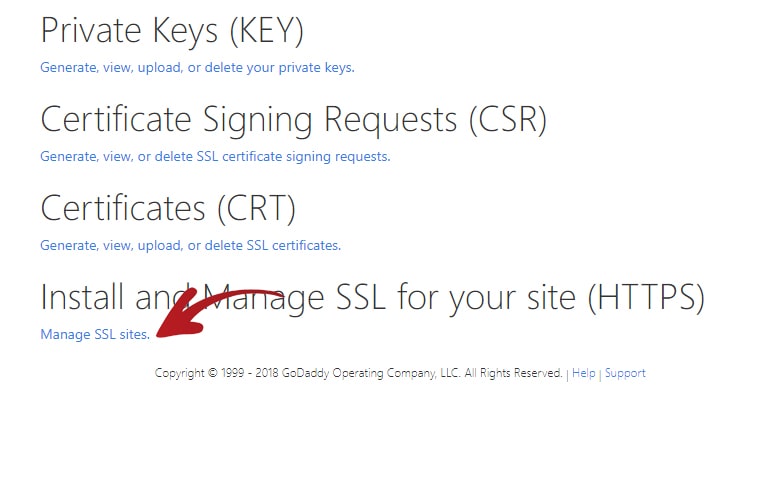
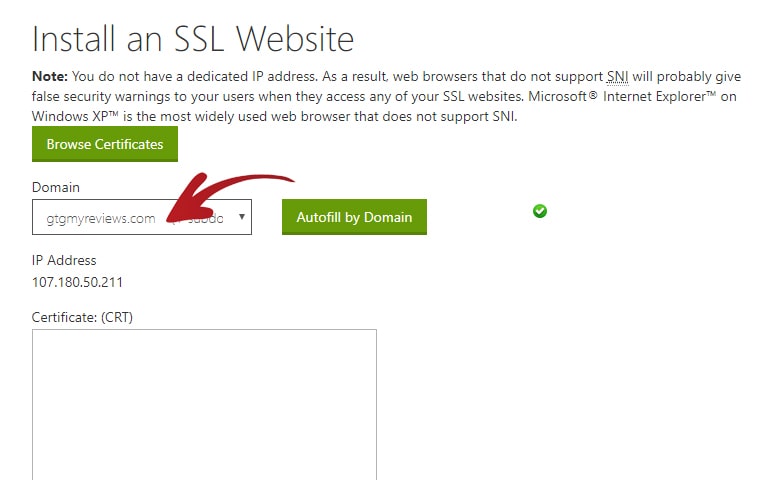
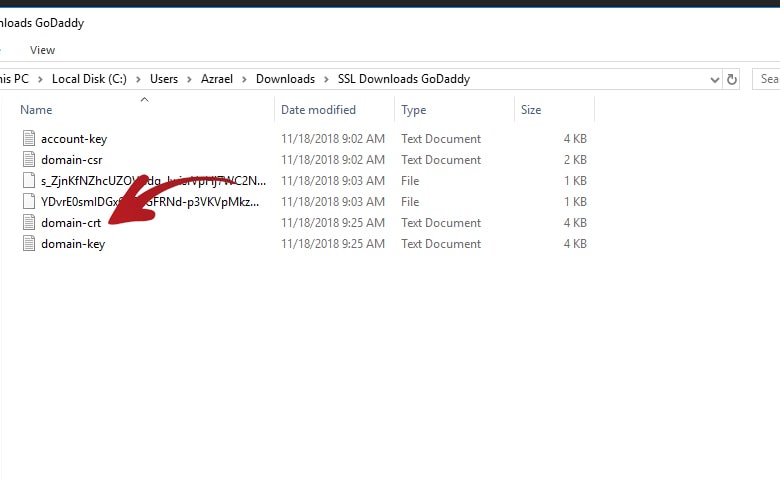
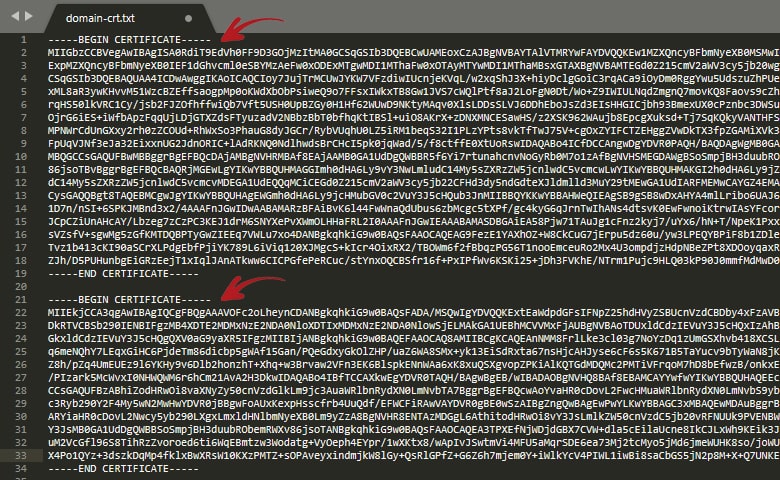
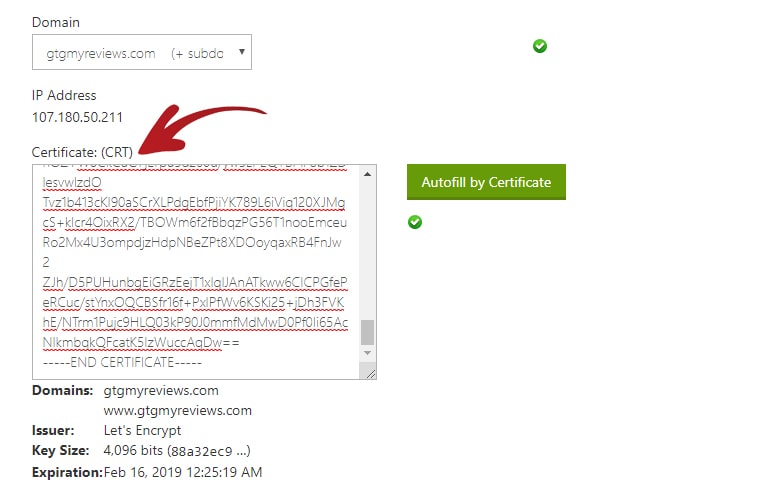
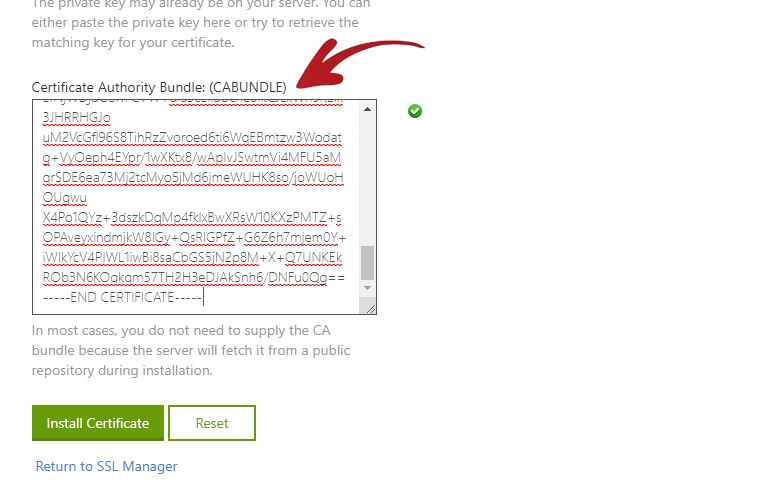
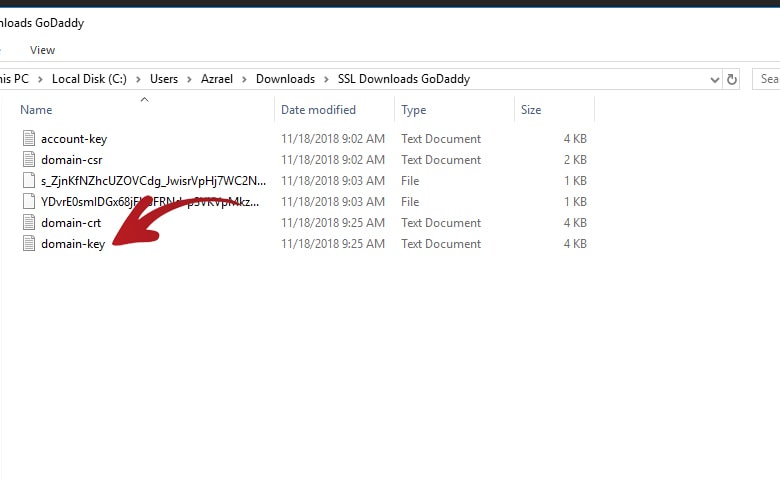
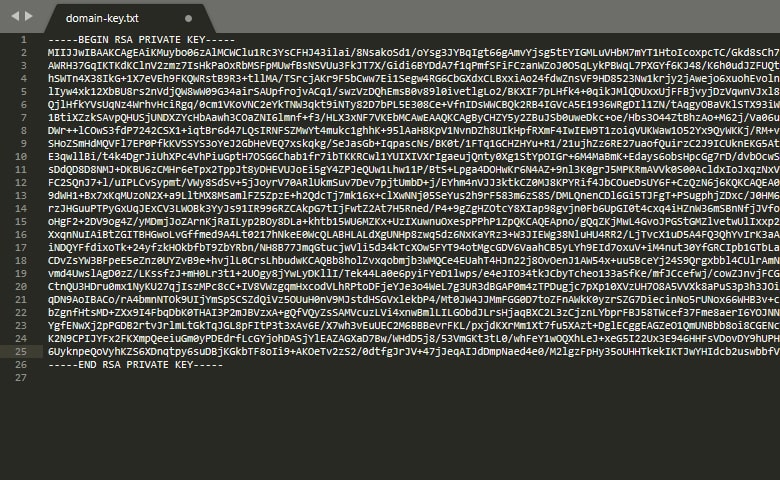
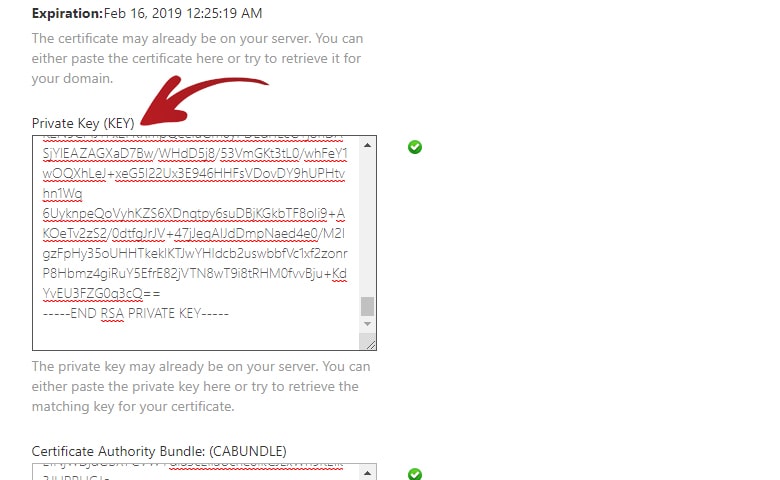
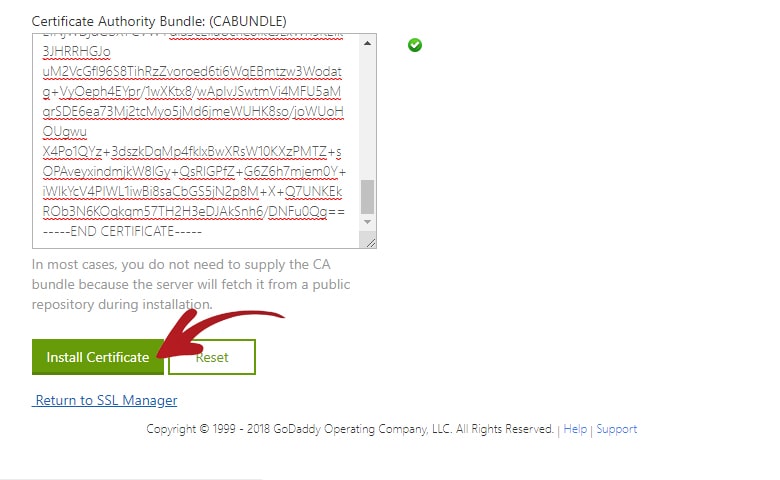
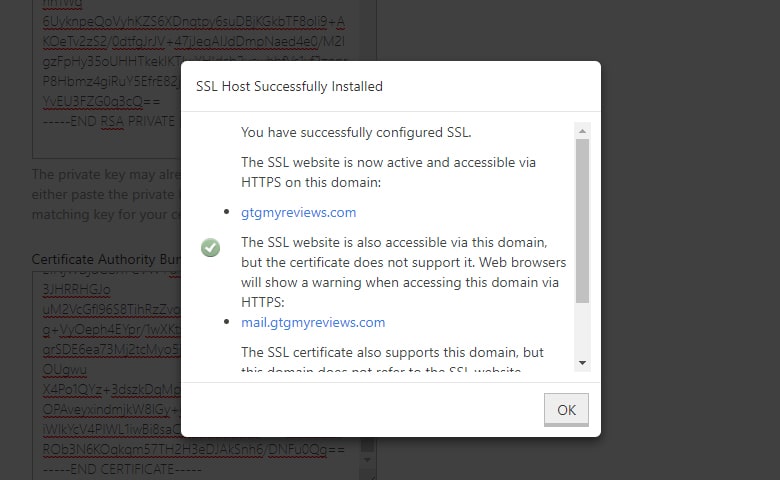
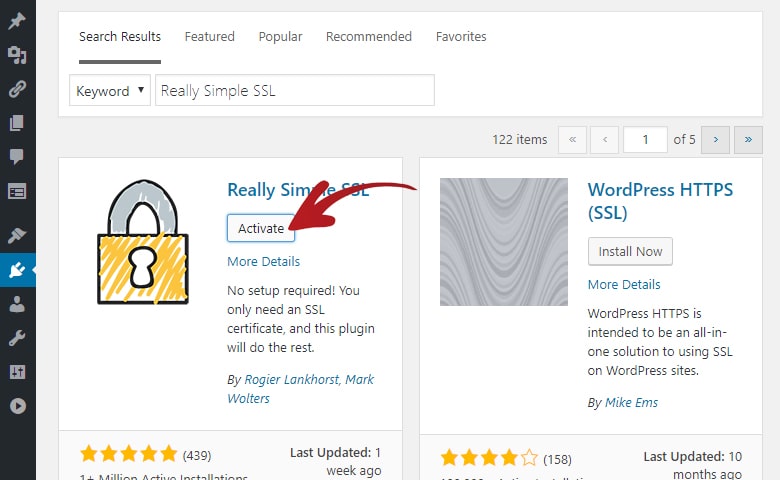
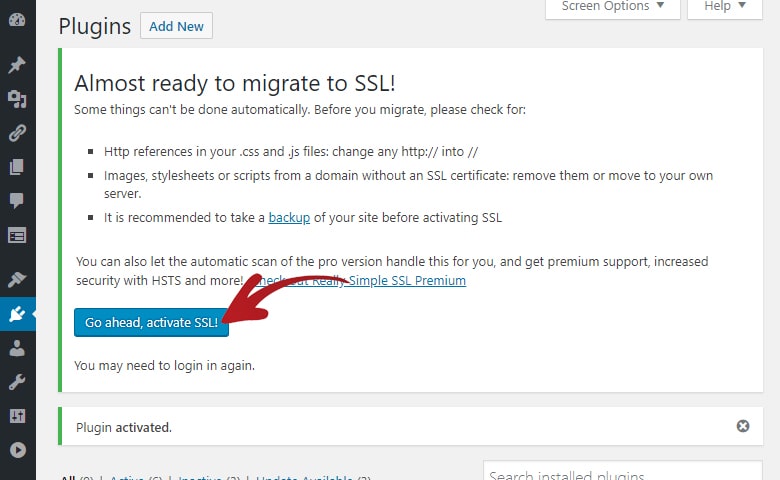
- Really Simple SSL – Get a free SSL for GoDaddy.
- Limit Login
5. Performance
Finally we are in the most important part of this GoDaddy in-depth review.
This is the part where we will test the website we just prepared above and see how it actually performs in real time.
Here are the various tests I did and their results:
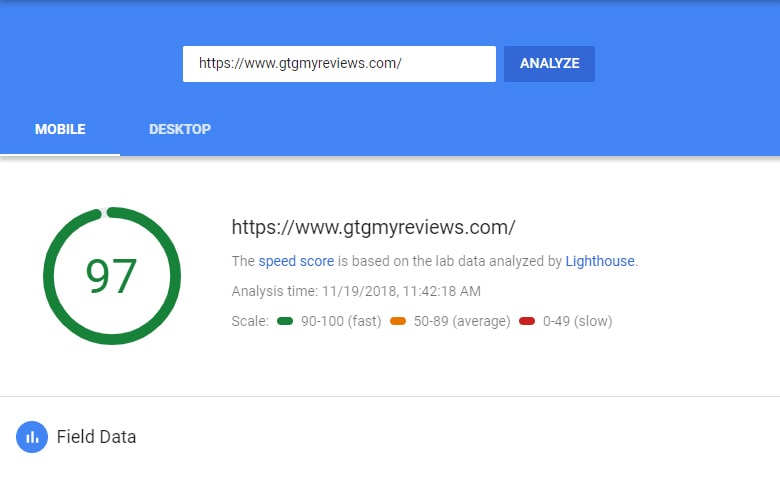
Google PageSpeed Insights – Mobile
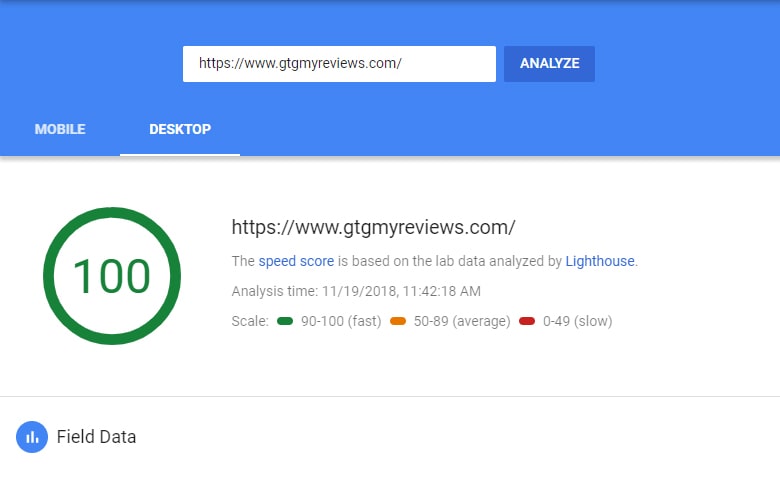
Google PageSpeed Insights – Desktop
Pingdom Tools
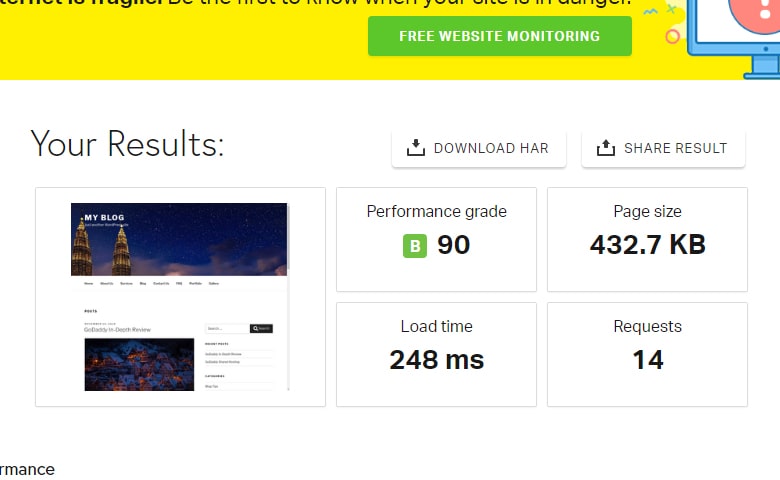
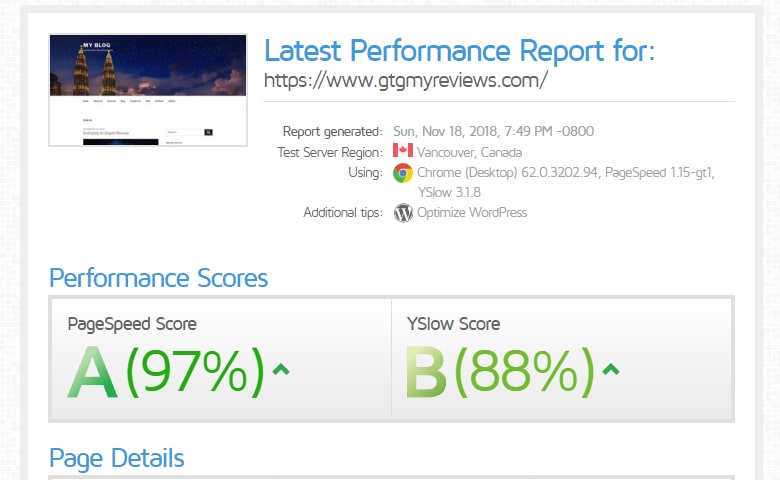
GTMetrix
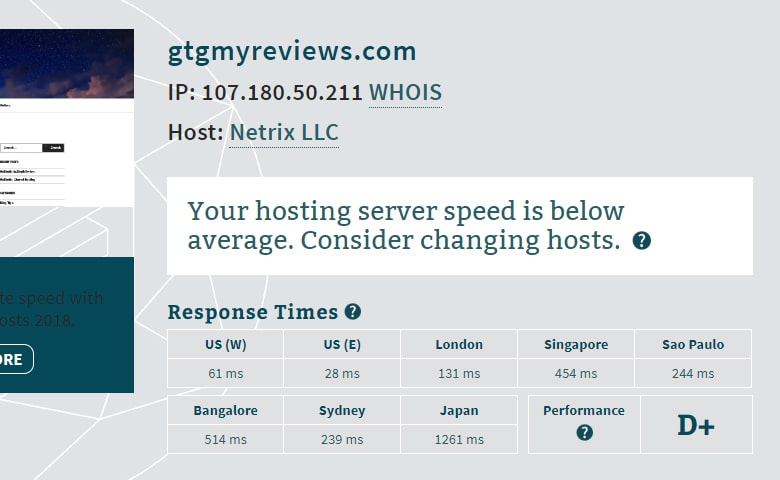
Bitcatcha
These scores are absolutely outstanding for a Shared Hosting. I am looking specially on the Google PageSpeed Insights scores.
This is the most important ones as if your score in this is really low then Google will punish your SEO ranking.
Also take note that these scores are from the newly updated Google PageSpeed Insights platform as well.
Since they updated the platform. Some of the top websites scores dropped significantly. That is why I am very impressed with the Google PageSpeed Insight scores that GoDaddy Shared Hosting is able to attain.
There are still a few suggestions there that you could work on like Defer Offscreen Images, Serve Images in Next-Gen Formats etc.
Or if you want to go all out on optimization then you could also add a CDN, buy a Premium DNS, Lazy Loading and more.
Looking at the Bitcatcha score you will see that the US visitors will have a breeze browsing your website. However foreign countries like Japan will need to wait a full second before the page starts printing content.
Conclusion
So far of all the Shared Hosting I have reviewed, GoDaddy is the one that shows the most promising result followed by HostGator then DreamHost.
If you are a starter blogger who is just starting then you might want to consider GoDaddy as your initial web hosting.
Later on, down the line, when your website starts getting traction then you could switch to a managed WordPress hosting or just go into the cloud WordPress hosting.
For the meantime I highly recommend GoDaddy as a starter blogger web hosting provider.