If you are interested in finding out and buying one of the best laptops of 2018. Then you have come to the right place.
The year 2018 is indeed a great year for laptops.
Aside from the 8th generation Intel’s super efficient yet powerful processors, which greatly increase the battery life of laptops.
A lot of innovative upgrades are also being implemented in the new laptops which the community has been begging for a long time already.
Of course I am talking about USB-C implementation, longer battery life, higher base SSD capacity and sleeker design.
My additional personal requests to be added as default for each laptop are smaller bezels, IPS display and more ports.
Here are the best laptops of 2018.
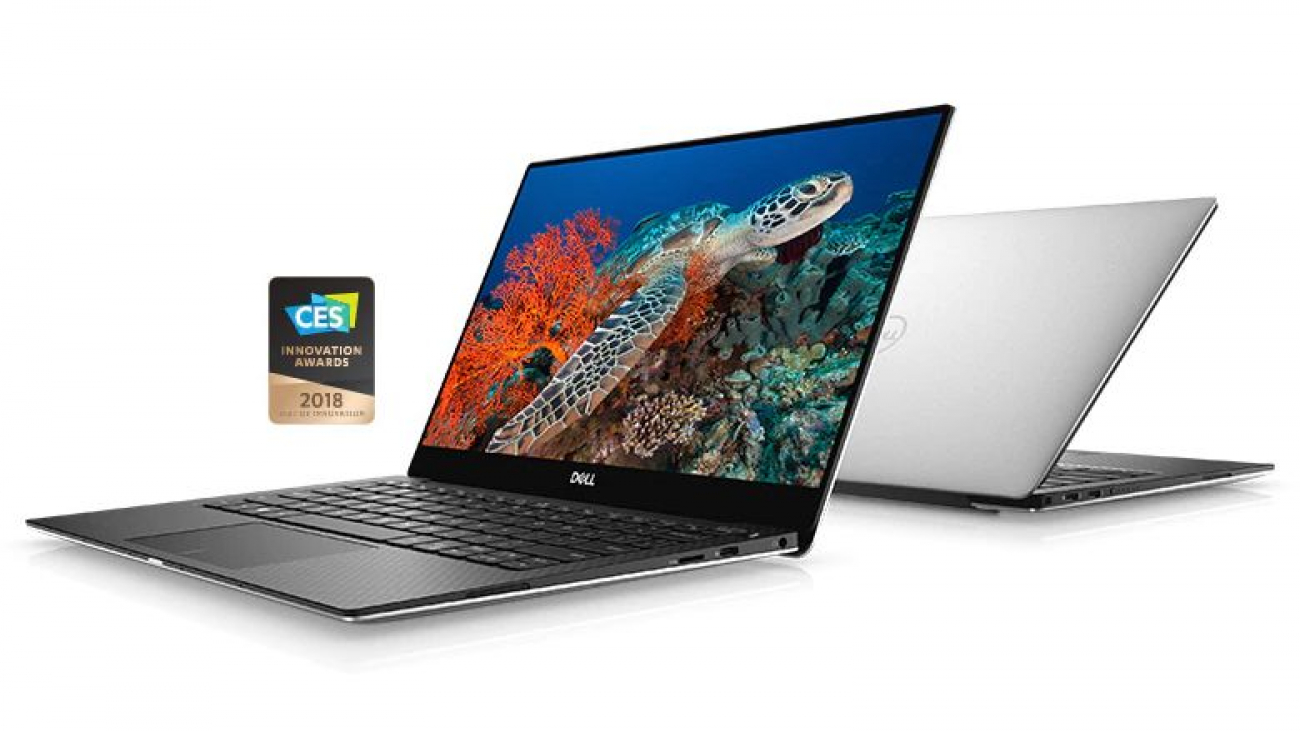
1. Dell XPS 13
The Dell XPS 13 had been a frequent member of various best laptops lists from all over the internet for the last 2 years.
This year, the Dell XPS 13 packs the more powerful and efficient 8th generation Intel i5 or i7 processor. Which just improves the performance and battery life of the already outstanding Dell XPS 13 even more.
You also have an option to upgrade your display to a stunning 4K display.
This just makes the display of the Dell XPS 13 more beautiful combined with the very thin or almost bezel-lezz InfinityEdge display.
The Dell XPS 13 also didn’t cheap out on its ports and even now included a Thunderbolt 3 (USB-C) which means you can now attached an eGPU to your Dell XPS 13 and turn it into a gaming machine.
Specifications:
- CPU 8th Generation Intel Core i5 – i7
- Graphics: Intel UHD Graphics 620
- RAM: 8GB – 16GB
- Screen: Screen: 13.3″ FHD (1920 x 1080) – 4K (3840 x 2160)
- Storage: 256GB – 1TB SSD
2. Huawei MateBook X Pro
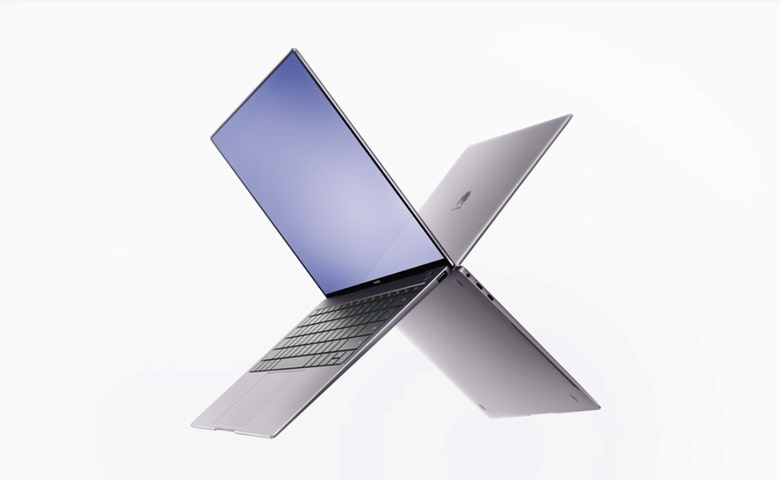
I am actually torn on whether I should make the Huawei MateBook X Pro the number 1 laptop in this list.
Basically, I consider the Huawei MateBook X Pro as the most complete laptop in this list.
It has the sleek design that is obviously inspired by the Apple MacBook laptops. Which I am a real fan of.
It rocks the 8th generation i5 or i7 processors which are very powerful and efficient at the same time.
The Huawei MateBook X Pro also has a beautiful 3K display.
But what really makes the Huawei MateBook X Pro a better buy than the Dell XPS 13 is the inclusion of a discrete Nvidia GeForce MX150 2GB GDDR5.
If you are a casual gamer like me then this laptop would truly appeal better for you.
Specifications:
- CPU: 8th Generation Intel Core i5 – i7
- Graphics: Intel UHD Graphics 620 & Nvidia GeForce MX150 2GB GDDR5
- RAM: 8GB – 16GB
- Screen: 13.9″ 3K (3000 x 2080)
- Storage: 512GB SSD
3. Microsoft Surface Laptop 2
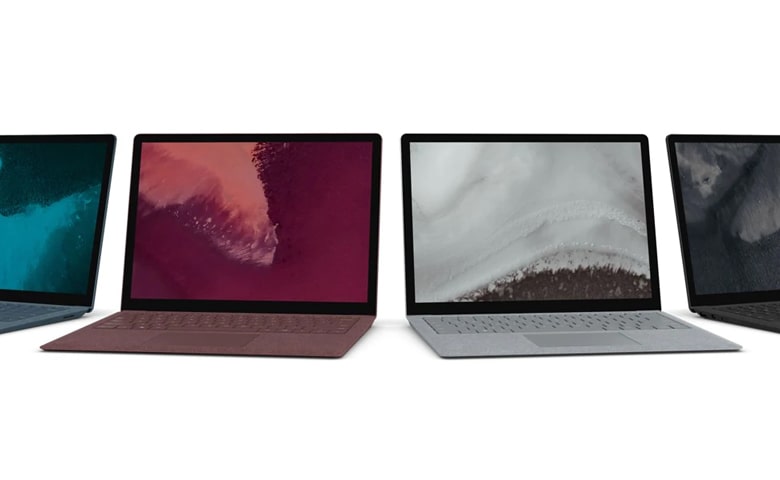
The second generation Microsoft Surface Laptop 2 offers a good number of hardware upgrade to its predecessor.
These upgrades resulted in noticeable improvement in performance of the Microsoft Surface Laptop 2.
It now also comes in a beautiful black color and still retains the Alcantara wrapped keyboard which makes it really good to the touch.
The new battery life is also pretty crazy as Microsoft claims it could lasts up to 14.5 hours.
It also has a beautiful PixelSense display with 2256 x 1504 resolution and 10 point multi-touch.
The only beef I got with the Microsoft Surface Laptop 2 is the lack of ports. I wish that they atleast add a bit more ports on the next generation.
Aside from this. I think that the Microsoft Surface Laptop 2 is a solid contender to be the next best laptop. And I just want to say that Microsoft is indeed in the right path.
Specifications:
- CPU: 8th Generation Intel Core i5 – i7
- Graphics: Intel UHD Graphics 620
- RAM: 8GB – 16GB
- Screen: 13.5″ PixelSense (2256 x 1504)
- Storage: 128GB, 256GB, 512GB or 1TB SSD
4. Apple MacBook Pro with Touch Bar 13-Inch (2018)
If you are someone who is already used to the Apple ecosystem then you would really appreciate the Apple MacBook Pro with Touch Bar.
The 13-Inch MacBook Pro 2018 packs an 8th generation i5 or i7 and both has the capability to Turbo Boost. It also comes with a Intel Iris Plus Graphics 655 integrated GPU.
The new Touch Bar feature also improves productivity when using applications.
It changes automatically based on what application you are using and gives relevant tools that you might want to use.
Did I also mention that the Touch Bar is has an OLED display.
The 13-Inch Apple MacBook Pro, though small, also didn’t cheap out on it’s ports.
The Touch Bar version sports 4 – Thunderbolt 3 (USB-C) ports with support for charging, DisplayPort, Thunderbolt with up to 40 Gbps and USB 3.1 Gen 2 with up to 10 Gbps.
Specifications:
- CPU: 8th Generation Intel Core i5 – i7
- Graphics: Intel Iris Plus Graphics 655
- RAM: 8GB – 16GB
- Screen: 13.3″ (2560 x 1600) IPS
- Storage: 256GB – 2TB PCIe based SSD
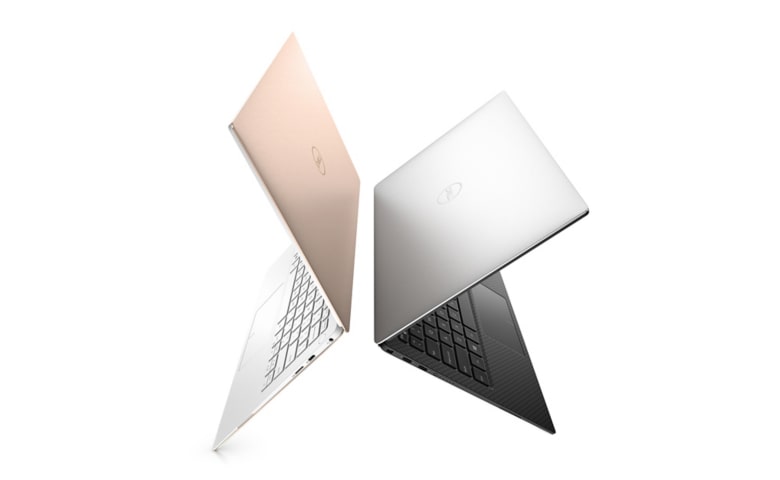
5. MacBook Air (2018)
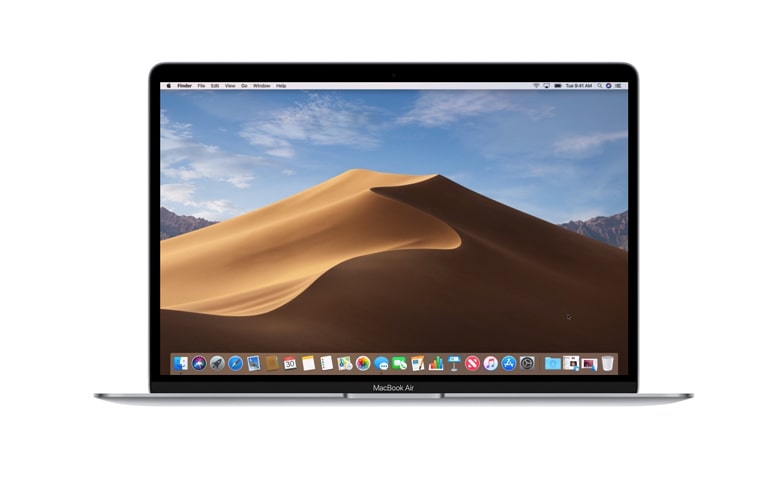
The MacBook Air 2018 is a newly released refresh of the MacBook Air lineup.
It now packs a 1.6GHz Dual-Core Intel Core i5 which can Turbo Boost up to 3.6GHz. This processor comes with Intel UHD Graphics 617.
Apple also now finally upgrades the display of the MacBook Air 2018 into a Retina display.
Combine this with the new ultra-thin bezels which Apple is able to shrunk up to 50%. And you will surely fall in love with the new display.
Apple also improved the security of the new MacBook Air 2018 by integrating their T2 Security Chip on it.
It also now has Touch ID so unlocking your device can be done with just a touch of a finger.
The only issue with the new MacBook Air 2018 is similar to the issue I have with Microsoft Surface Laptop 2.
It only has two Thunderbolt 3 (USB-C) ports that supports charging, DisplayPort, Thunderbolt with up to 40 Gbps and USB-C 3.1 Gen 2 with up to 10 Gbps.
Surely more ports and on both sides would be a welcome addition on the next generation of MacBook Air.
Specifications:
- CPU: 1.6GHz Dual-Core Intel Core i5
- Graphics: Intel UHD Graphics 617
- RAM: 8GB – 16GB
- Screen: 13.3″ Retina (2560 x 1600) IPS
- Storage: 128GB – 1.5TB SSD PCIe-based SSD
6. Razer Blade Stealth (2018)

The new Razer Blade Stealth 2018 is an ultra-thin and ultra-light laptop which offers 30% performance increase.
It is packed with a 8th generation quad-core Intel Core i7 processor and faster 16GB of dual-channel memory.
This processor also comes equipped with Intel UHD Graphics 620.
The Razer Blade Stealth 2018 also now has an incredibly beautiful QHD+ touch screen display option.
It is also available in two colors, the first is gunmetal with a tone on tone Razer logo and white backlit keyboard.
Or in black with an adjustable green backlit Razer logo and Razer Chroma keyboard.
The Razer Blade Stealth also comes with a reasonable number of ports which are 1 – Thunderbolt 3 (USB-C), 2 – USB 3.0 SuperSpeed, 1 – HDMI 2.0 and 3.5mm headphone/microphone combo port.
Specifications:
- CPU: 8th Generation Quad-Core Intel Core i7
- Graphics: Intel UHD Graphics 620
- RAM: 16GB
- Screen: 13.3″ QHD+ (3200 x 1800) Touch Screen
- Storage: 256GB – 1TB SSD PCIe M.2
7. Asus ZenBook Flip S UX370
The Asus ZenBook Flip is currently ranked as the best 2-in-1 in the market and I got to agree with them.
It is one of the world’s thinnest and lightest convertible laptops designed for versatility.
It’s 2-in-1 design means that you can flip the display to 360-degrees and use it as a handy tablet immediately.
They are also able to perfect this 360-degrees flip so the screen lays flat on top of the laptop body unlike some of it’s competitors.
The Asus ZenBook Flip S UX370 also packs an 8th generation i7 processor which comes with an Integrated Intel® UHD Graphics 620.
It also has a gorgeous 4K UHD resolution and it features 178° wide-view technology.
And with an incredible 331ppi pixel density all the text and images just looks ultra sharp.
The only setback though is that the Asus ZenBook Flip S UX370 only comes with 2 – USB 3.1 Gen 1 USB-C and a 3.5mm headphone jack.
That USB-C supports power delivery of 60% in 49 mins, data transfer of up to 5Gbps and display output of up to 4K UHD-ready.
Specifications:
- CPU: 8th Generation Intel Core i5 – i7
- Graphics: Intel UHD Graphics 620
- RAM: 8GB – 16GB
- Screen: 13.3″ Full HD (1920 x 1080) – 4K UHD (3840 x 2160)
- Storage: 256GB – 1TB
8. HP Spectre x360 13-Inch
The HP Spectre x360 is another ultra-thin convertible laptop which offers excellent performance.
It packs an 8th generation Intel Core i5 or i7 processor which comes with an integrated Intel UHD Graphics 620.
HP even claims that you can do 4K video editing or 3D rendering in the Spectre x360 smoothly and effortlessly.
The Spectre x360 also features a 4K Micro-Edge display that has 8.2 million pixels. This delivers a jaw-dropping display quality with true-to-life definition.
HP also didn’t cheap out on ports on the Spectre x360 as it has 2 – USB-C Thunderbolt, 1 – USB 3.1, a Combo Audio Jack and a Micro-SD Reader.
Specifications:
- CPU: 8th Generation Intel Core i5 – i7
- Graphics: Intel UHD Graphics 620
- RAM: Up to 16GB
- Screen: 13.3″ 4K UHD (3840 x 2160)
- Storage: Up to 1TB
9. Lenovo Yoga 920
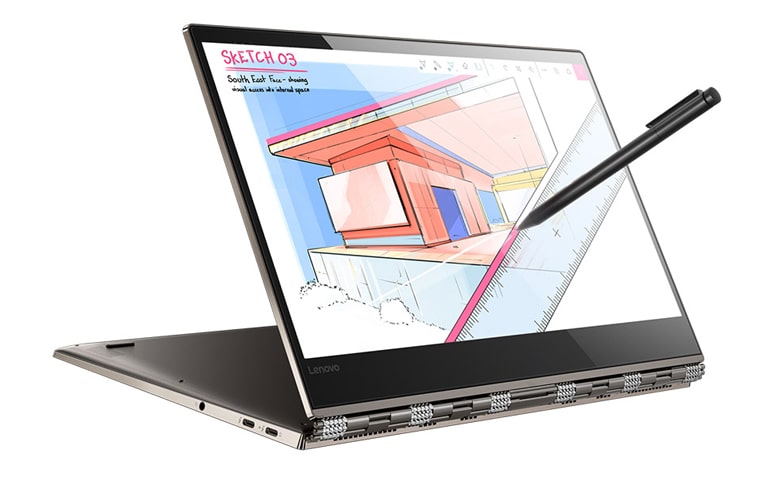
The Lenovo Yoga 920 is another 2-in-1 laptop which offers a stunning and powerful performance.
It packs an 8th generation Intel Core i5 or i7 processor that comes with a integrated Intel UHD Graphics 620.
You also now have an option to choose a stunning 4K UHD display as your screen if you want to.
The FHD screen display will make your battery last longer though but the 4K UHD display can still last up to 10 hours.
The Lenovo Yoga 920 feature which really stands out though is their very specific 4,096 level of sensitivity.
Basically, this feature provides the natural feel of pen-on-paper experience, with twice the accuracy compared to their competitors’s pens.
Lenovo also didn’t shy out on ports for the Lenovo Yoga 920. It has 1 – USB 3.0 with always-on charging, 2 – USB C with support for Thunderbolt, PowerDelivery & DisplayPort and Combo Audio Jack.
Specifications:
- CPU: 8th Generation Intel Core i5 – i7
- Graphics: Intel UHD Graphics 620
- RAM: 8GB – 16GB
- Screen: 13.9″ FHD (1920 x 1080) IPS Multi-Touch, 4K UHD (3840 x 2160) IPS Multi-Touch
- Storage: 256GB – 1TB
10. Lenovo ThinkPad X1 Carbon
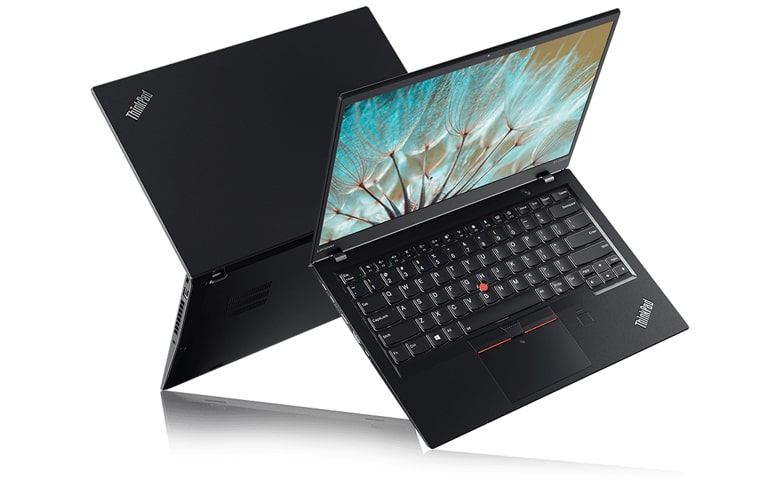
The Lenovo ThinkPad X1 Carbon is currently considered as the best business laptop.
It now sports an 8th generation Intel Core i5 or i7 which comes with integrated Intel UHD Graphics 620.
What makes the Lenovo ThinkPad X1 Carbon really appeal on business oriented customers is their security and durability features.
For security alone it has multiple features like ThinkShutter which blocks the front-facing camera, match-on-chip fingerprint readers with anti-spoofing technology and they encrypt your data with Trusted Platform Module (dTPM).
As for durability, Lenovo ThinkPad X1 Carbon is tested against 12 military-grade requirements and more than 200 quality checks to ensure they run in extreme conditions.
The laptop is also wrapped in four layers of carbon-fiber reinforced chassis and a magnesium alloy roll-cage for added strength.
Lenovo also didn’t cheap out on their ports for the Lenovo ThinkPad X1 Carbon.
It has 2 – Intel Thunderbolt 3, 2 – USB 3.0, 1 – HDMI, a Headphone/Microphone Combo Jack, a 4-in-1 MicroSD Card Reader with supports for SD, MMC, SDHC, SDXC.
Specifications:
- CPU: 8th Generation Intel Core i5 – i7
- Graphics: Intel UHD Graphics 620
- RAM: 8GB – 16GB
- Screen: 14″ FHD IPS (1920 x 1080), FHD IPS Touch (1920 x 1080), WQHD (2560 x 1440), HDR WQHD (2560 x 1440)
- Storage: 128GB – 1TB
11. Surface Book 2 13-Inch
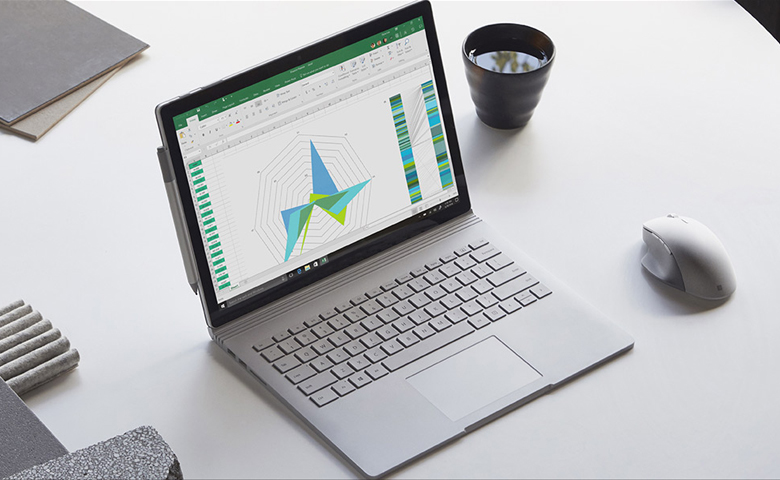
The Microsoft Surface Book 2 is currently considered as the most powerful 2-in-1 laptop in the world.
What makes it standout among the other 2-in-1 laptop in the market though. Is that you can actually detach the display from the laptop’s body.
This converts the Surface Books 2 into a fully dedicated tablet seamlessly.
It packs an 8th generation Intel Core i7 which comes with integrated Intel HD Graphics 620.
Furthermore, it also comes with a NVIDIA GeForce GTX 1050 discrete GPU with 2GB GDDR5 graphics memory.
The Microsoft Surface Book 2 sports a 13.5″ PixelSense 10 point multi-touch display with 3000 x 2000 at 267 PPI.
The only beef I got with the Surface Book 2 is that they only included one USB-C port.
The Surface Books 2 comes with 2 – USB Type-A, 1 – USB Type-C with USB Power Delivery, 3.5mm headphone jack, 2 – Surface Connect ports and Full-size SDXC card reader.
Specifications:
- CPU: 8th Generation Intel Core i7
- Graphics: Intel UHD Graphics 620, NVIDIA GeForce GTX 1050
- RAM: 8GB – 16GB
- Screen: 13.5” PixelSense (3000 x 2000) Multi-Touch
- Storage: 256GB – 1TB
12. HP ZBook 15 G5
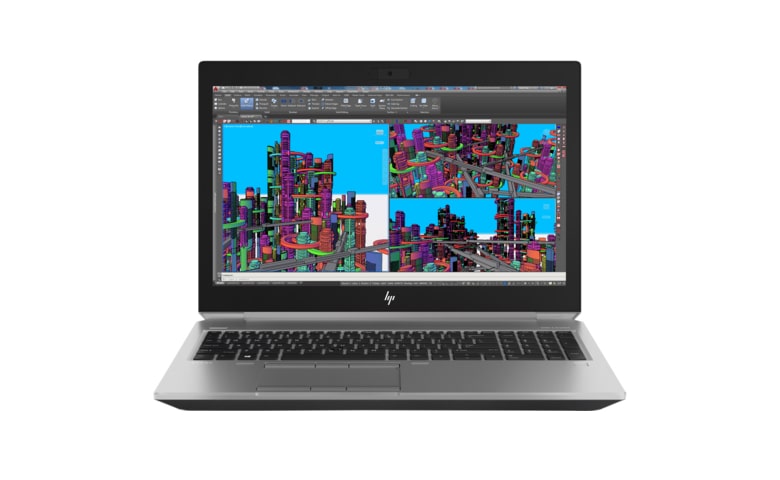
The HP ZBook 15 G5 is a truly powerful and highly customizable mobile workstation from HP.
While the other laptops in this list only has 1, 2 or 4 models for you to choose from. The HP ZBook 15 G5 currently has 9 different versions for your to choose from.
HP even claims that there are up to four million different configurations for the ZBook 15 G5.
Talk about variety!
With HP ZBook 15 G5 your processor can either be a Intel Xeon, 8th generation i5, i7 or even i9.
Depending on your choice, your GPU can either be just Intel UHD Graphics 630 or Intel UHD Graphics P630.
Or either one of these discrete GPUs like AMD Radeon Pro WX 4150 Graphics 4 GB GDDR5 dedicated, NVIDIA Quadro P1000 4 GB GDDR5 dedicated and NVIDIA Quadro P2000 4 GB GDDR5 dedicated.
As for the display, you can either choose a FHD IPS display or a 4K IPS display.
HP also didn’t cheap out on ports to the ZBook 15 G5 as it comes with 1 – RJ-45, 2 – USB 3.0, 1 – USB 3.0 with charging, 1 – HDMI 2.0, 1 – headphone/microphone combo, 1 – power connector, 2 – USB 3.1 Type-C Thunderbolt 3 with DisplayPort.
Specifications:
- CPU: Intel Xeon, 8th Generation Intel Core i5 – i7 – i9
- Graphics: Intel UHD Graphics 630, Intel UHD Graphics P630, AMD Radeon Pro WX 4150 Graphics, NVIDIA Quadro P1000, NVIDIA Quadro P2000
- RAM: 64GB – 128GB
- Screen: 15.6″ FHD (1920 x 1080) IPS, 4K (3840 x 2160) IPS
- Storage: 256GB – 2TB
13. MSI GS65 Stealth Thin
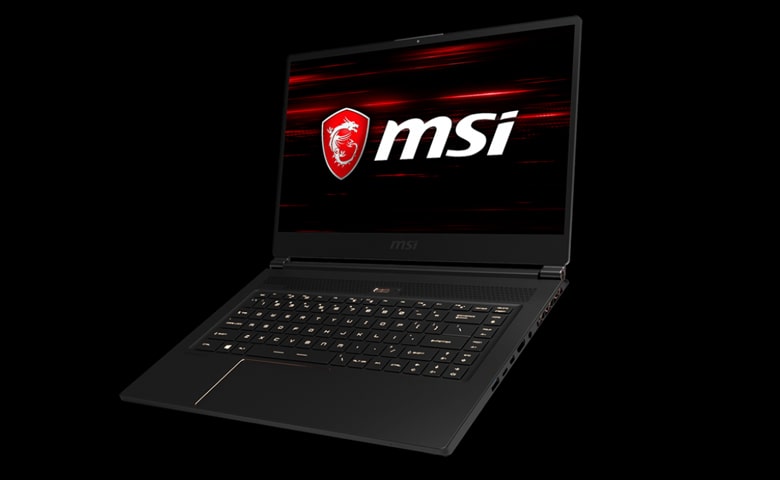
The MSI GS65 Stealth Thin is currently the top candidate for the best gaming laptop in 2018.
I also highly admire MSI for taking a step back on the design and able to attain a stylish professional looking gaming laptop.
Instead of going to a full gamer-oriented design. This new approach is a very welcome change atleast for me.
It is packed with an 8th generation Intel Core i7 and with 6-cores.
Furthermore it comes with a GeForce GTX 1070 With Max-Q Design with 8GB GDDR5.
The MSI GS65 is also the world’s first 144Hz thin bezel gaming laptop. It basically has 82% screen-to-body ratio.
The MSI GS65 also comes with a lot of ports including 1 – Type-C USB3.1 Gen2 / DP / Thunderbolt 3, 3 – Type-A USB 3.1, 1 – RJ45, 1 – 4K 60Hz HDMI and 1 – Mini-DisplayPort.
Specifications:
- CPU: 8th Generation Intel Core i7
- Graphics: NVIDIA GeForce GTX 1070 8GB GDDR5
- RAM: 16GB – 32GB
- Screen: 15.6″ FHD (1920 x 1080) 144Hz
- Storage: 512GB
14. Acer Predator Helios 300
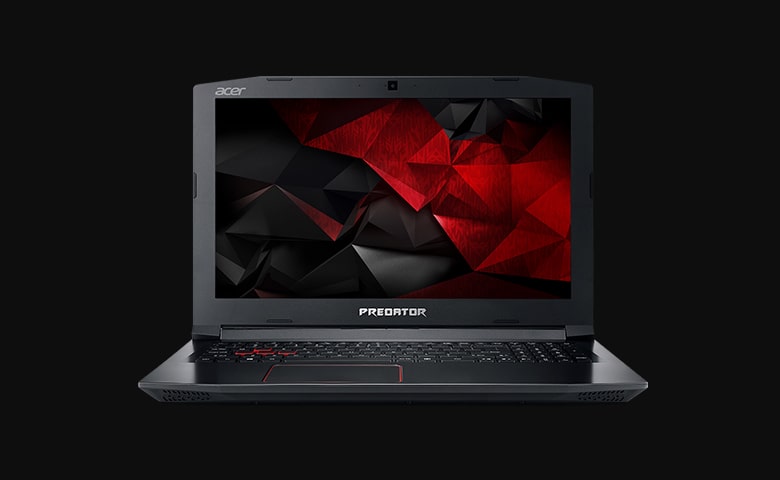
The Acer Predator Helios 300 is the best budget gaming laptop with great performance.
It is packed with the latest 8th generation Intel Core i5 or i7 processor partnered with an overclockable NVIDIA GeForce GTX 1060 graphics.
It also comes with the PredatorSense which lets you take control, overclock and customize your gaming experience from one place.
As for the laptop design, if you are a fan of a gamer-oriented design with red accents and aggressive edge outlines. Then you will love the design of the Predator Helios 300.
The Acer Predator Helios 300 comes with a 15.6″ Full HD ComfyView IPS at 1920 x 1080 screen resolution and 16:9 aspect ratio.
It also comes with a good number of ports including 2 – USB 2.0, 1 – USB 3.0, 1 – USB 3.1 Gen 1 and Network RJ-45.
Specifications:
- CPU: 8th Generation Intel Core i5 – i7
- Graphics: NVIDIA GeForce GTX 1060
- RAM: 8GB – 16GB
- Screen: 15.6″ Full HD (1920 x 1080) IPS
- Storage: 256GB – 1TB
15. Alienware 17 R5
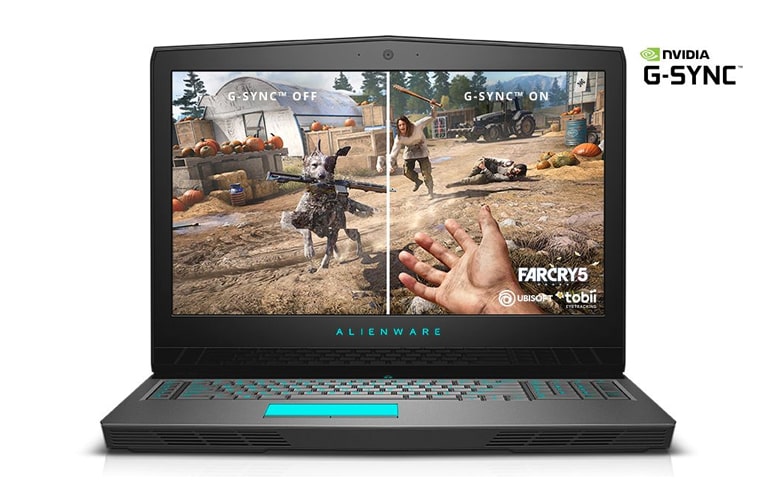
The Alienware 17 R5 is the ultimate powerhouse gaming machine designed for VR with upgraded cooling technology.
It is now packed with an 8th generation Intel Core i7 or i9 processors partnered with an OC versions of either NVIDIA GeForce GTX 1060, NVIDIA GeForce GTX 1070 or NVIDIA GeForce GTX 1080.
As for the laptop design, Alienware appears like they have also taken a step back and made the Alienware 17 R5 looks more professional but still has hints of gamer-inspired accents.
The Alienware 17 R5 is also a VR Ready system that will allow you to have a great virtual reality experiences that passes the Oculus Ready and Vive Optimized certifications.
It sports a 17-inch LCD screen with FHD, QHD 120Hz and UHD resolution options with an anti-glare finish.
Alienware also went crazy on the ports of the R5. It has RJ-45 Killer Networks Gigabit Ethernet, Type-A SuperSpeed USB 3.0, Type-A SuperSpeed USB 3.0 Port with PowerShare, Type-C SuperSpeed USB 3.0, Thunderbolt 3 Port USB Type-C, Alienware Graphics Amplifier, HDMI 2.0 Output, Mini-Display Port 1.2 Output, Audio Out and Headphone Jack.
Specifications:
- CPU: 8th Generation Intel Core i7 – i9
- Graphics: NVIDIA GeForce GTX 1060, NVIDIA GeForce GTX 1070 or NVIDIA GeForce GTX 1080
- RAM: 8GB – 32GB
- Screen: 17.3″ FHD (1920 x 1080) IPS, FHD (1920 x 1080) IPS NVIDIA G-SYNC Enabled
- Storage: 1TB + 8GB – 1TB + 512GB